Renew Your USEA Membership for the 2023 Season Today LEARN MORE

This article originally appeared in the May/June 2020 issue of Eventing USA magazine.
If your farm has the space to set up a cross-country schooling course, it can be to your advantage to have cross-country jumps available for schooling purposes. Safety should be the number one priority when designing and building cross-country jumps, and an expert should be consulted whenever possible. If you are looking to build safe cross-country jumps at home, what are some of the considerations you need to take into account before you actually start building?
Tremaine Cooper, a USEF “S” Eventing and FEI Level 3 Eventing licensed course designer who has designed at venues across the country including The Fork, Morven Park, Millbrook, Plantation Field, and many others, stressed the importance of making deliberate selections for your schooling course to maximize utility. “Think about what you are trying to achieve,” he said. “Are you trying to teach Novice or Training level riders? Then you’ll have a different set of criteria than if you’re prepping for the next World Championships.”
One of the first things to keep in mind, Cooper said, is that you don’t necessarily need to pose questions at competition height for them to be useful for schooling purposes. In fact, building jumps slightly below competition height can actually increase their usefulness because of the ability to then build terrain into your questions. “You can ask a Preliminary level question, for schooling, and it doesn’t have to be Preliminary height,” he said. “If you have an Intermediate horse and you go and build a bunch of Intermediate level jumps, you’ll find them a lot less useful than something a little bit smaller.”
“The neat thing about cross-country is that you can have the same question and if you change the terrain you can go up and down a level, make it quite a bit harder or quite a bit easier,” Cooper explained. “You can have a Novice level jump on the flat ground, but if you put it on enough terrain, it becomes an Advanced jump.”

In fact, building jumps under competition height is standard practice for jump builders. “As a rule of thumb, we’ll always build jumps 2 inches under height and if you need to block them up then you can do that,” Cooper said. “At home, you’re not going to have a Technical Delegate to check your heights, but if you build something, say at Training height and you set it out on the ground, it can be fairly hard to find a spot where it measures at 3’3”. If it’s slightly rising ground, which will actually make it ride better, all of a sudden it’s a Modified jump.”
Having jumps that can be jumped in both directions is another way to increase the utility of your cross-country schooling course. “If you’re creating a schooling course, there are some jumps, like a triple brush, that you jump in one direction, but it’s to your advantage to have jumps that can be jumped in two directions,” Cooper said. “It makes it that much more useful.” In this way, fences like coops, round tops, and log piles are more advantageous than ramps, benches, or oxers.
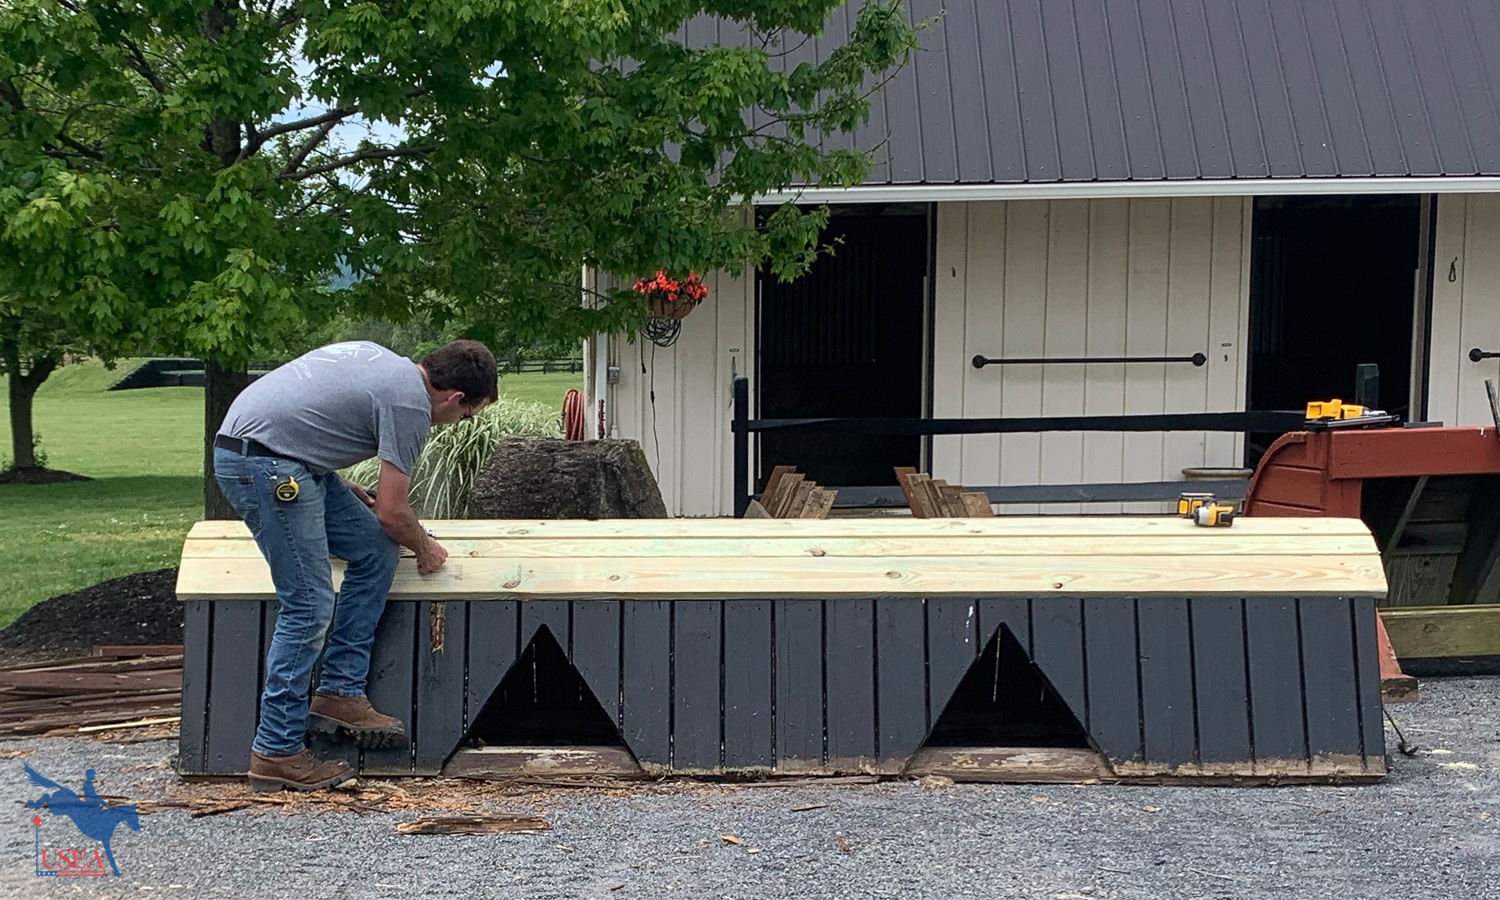
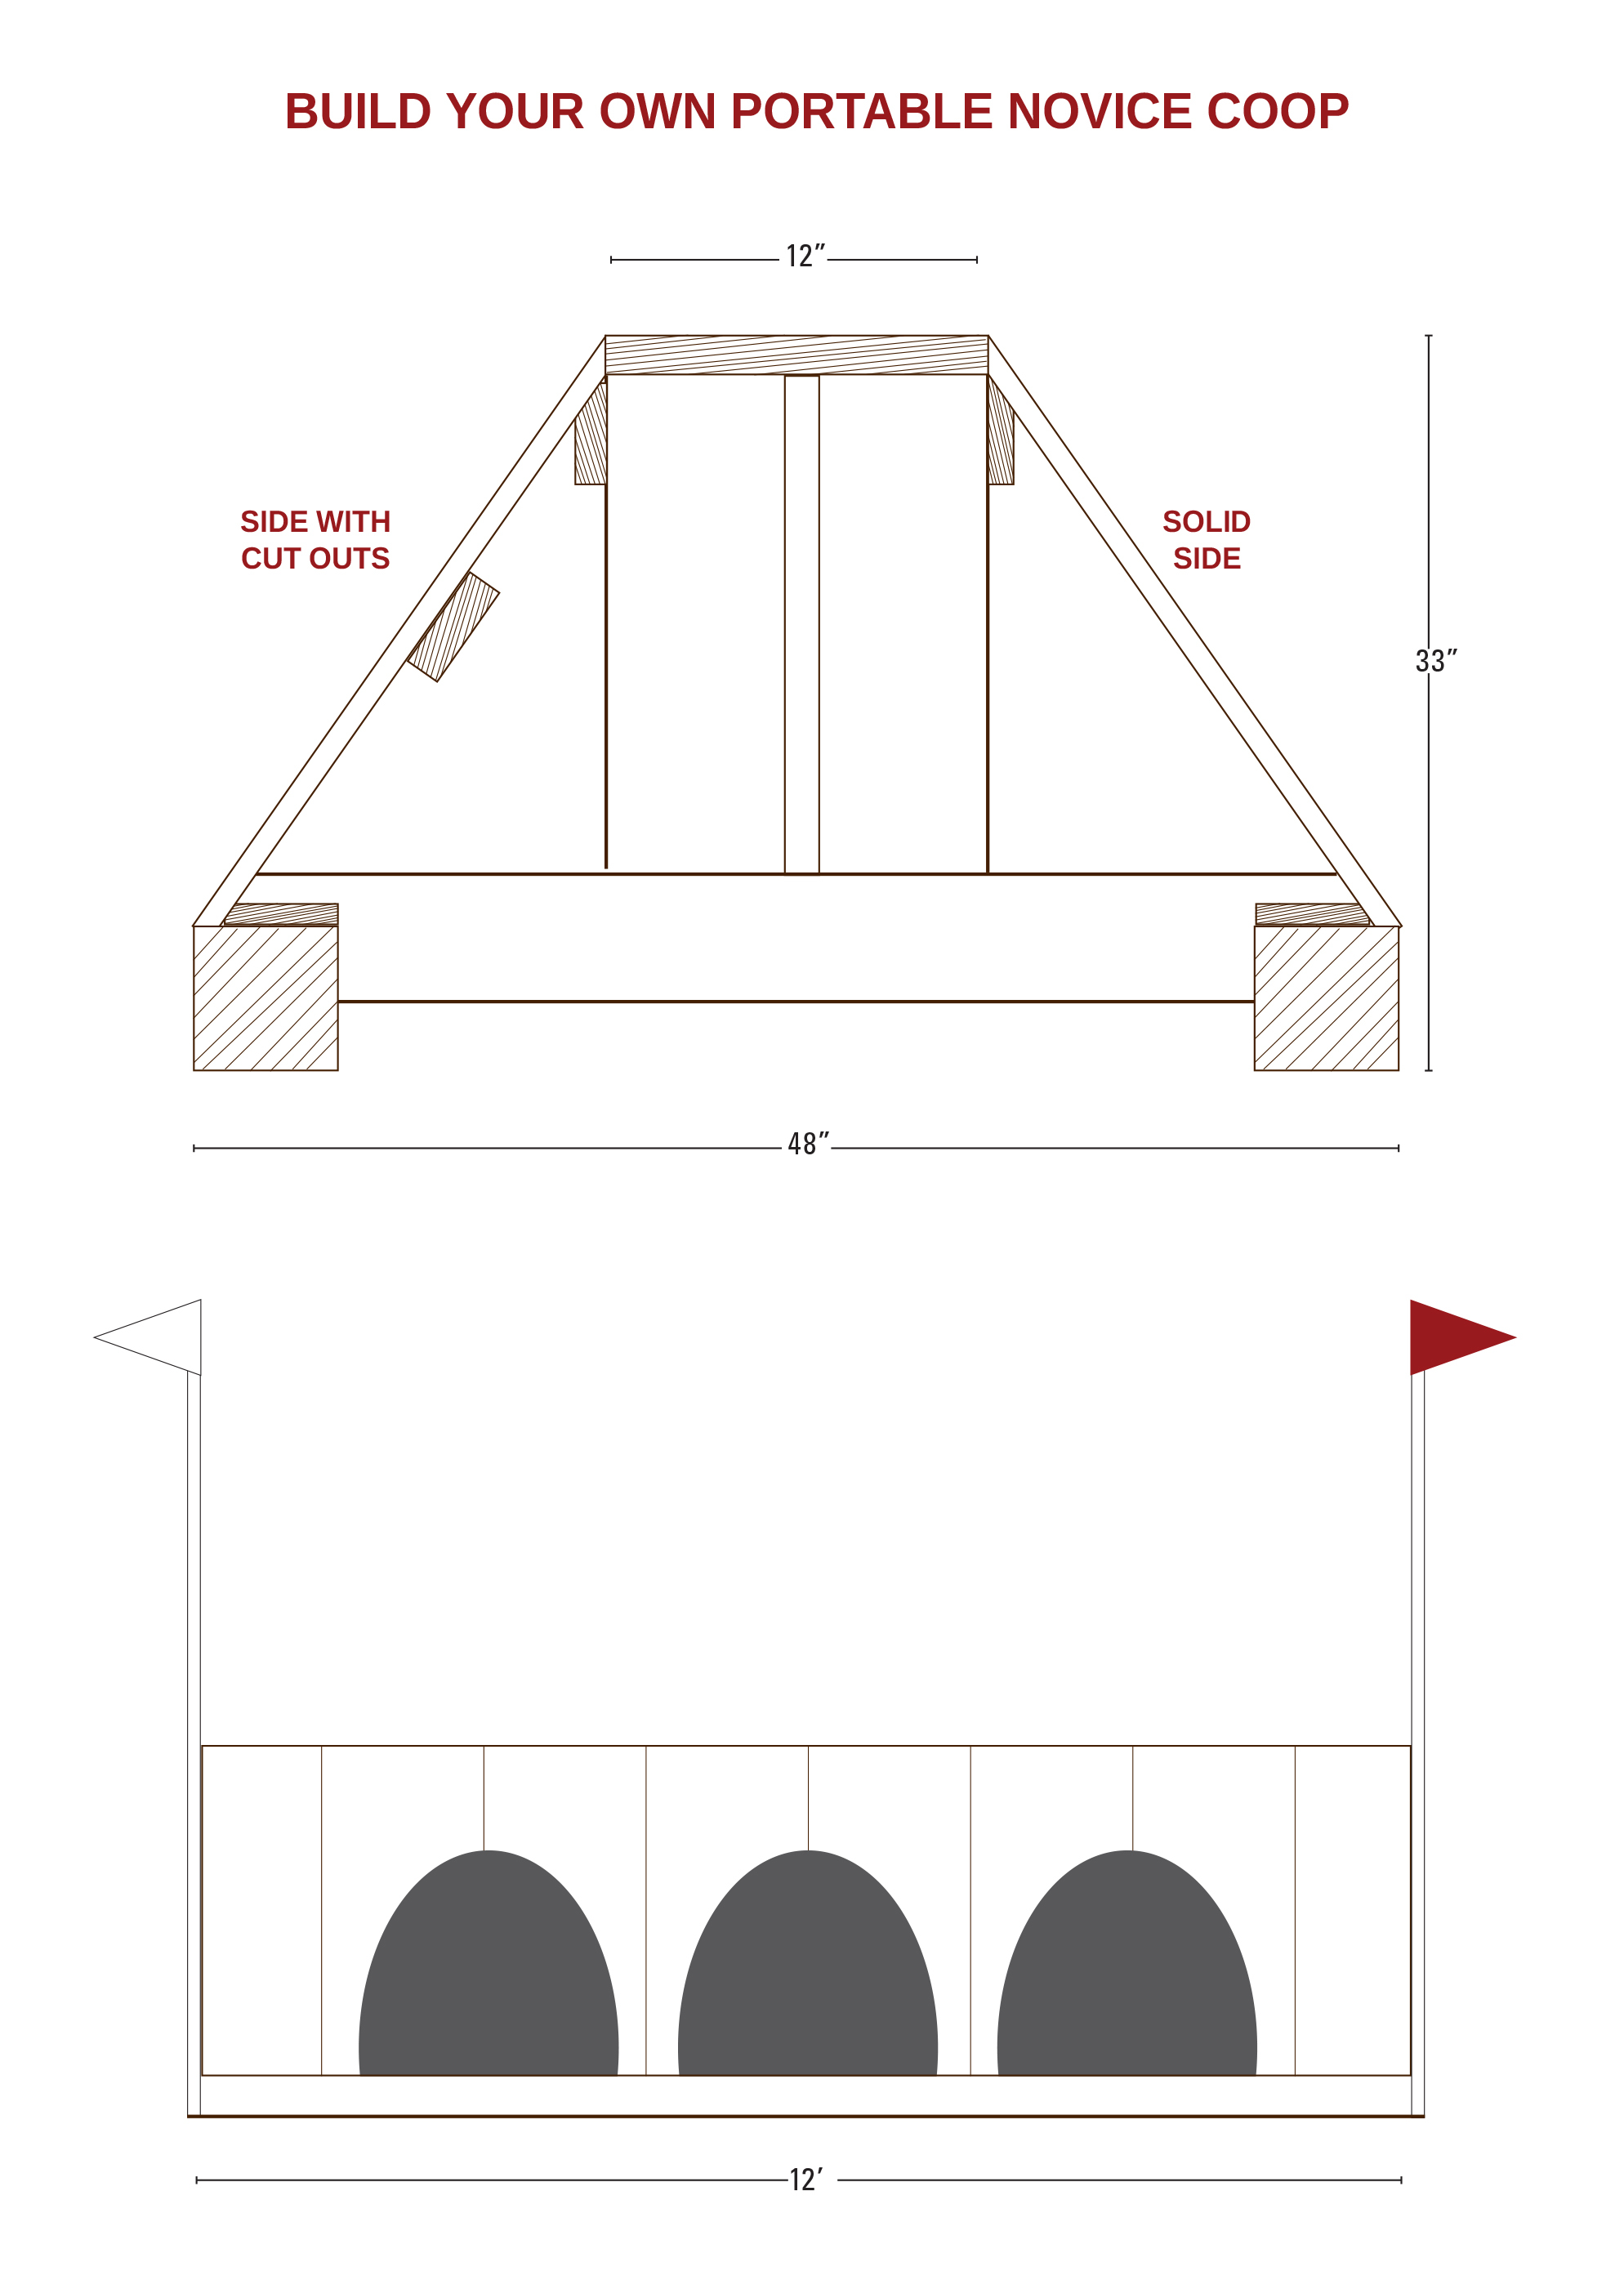
“A coop is a fairly straightforward jump,” Cooper said. “If you have one side of it have cutouts, it can be, especially for a young horse, fairly spooky from one side and totally benign from the other. That way, in the same jump, you have some different options. I’ve built some like that where you can totally change the question just from the direction you jump from, or where you place it – if the terrain is a question you might use the solid face, or if you want to back them off a little bit you might use the face with the cutouts.”
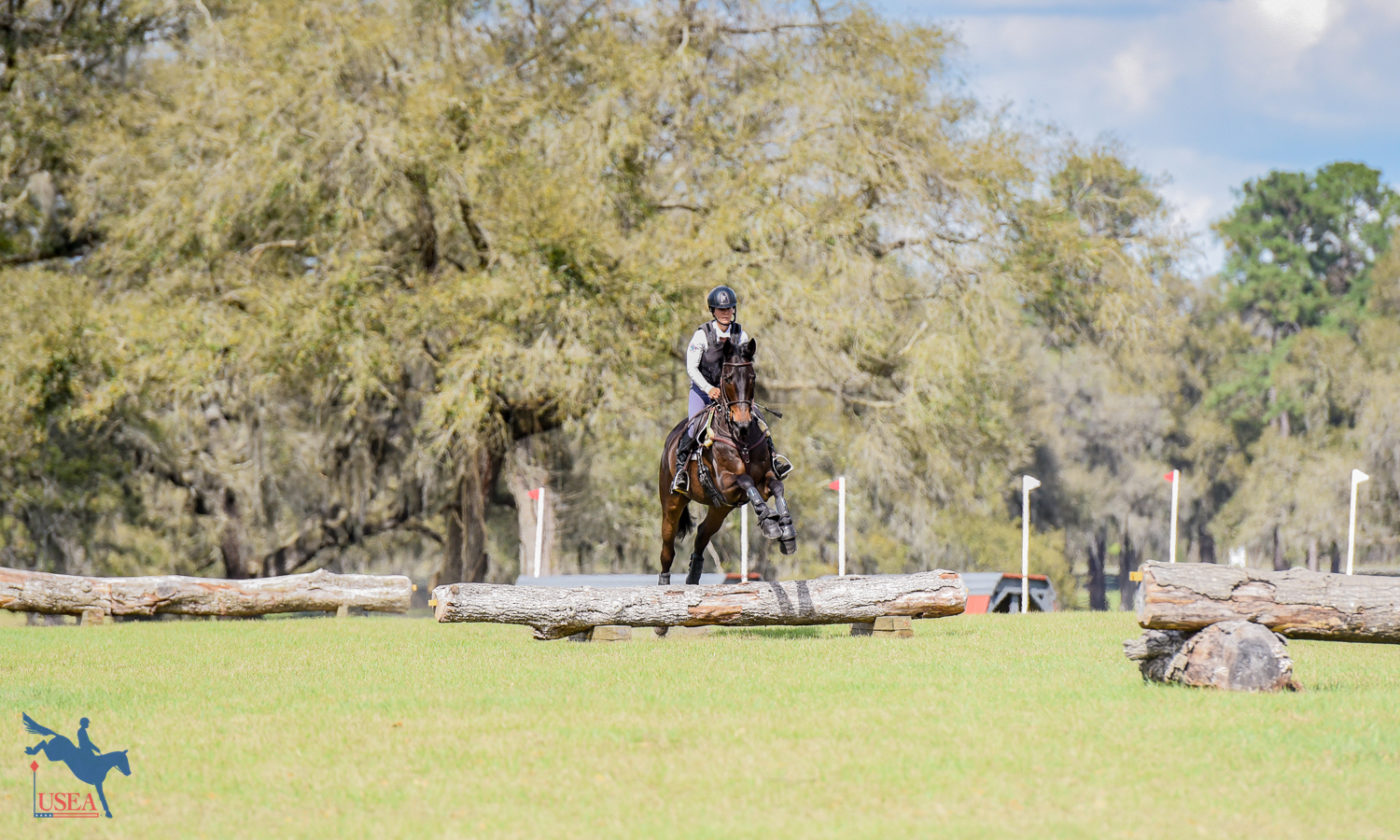
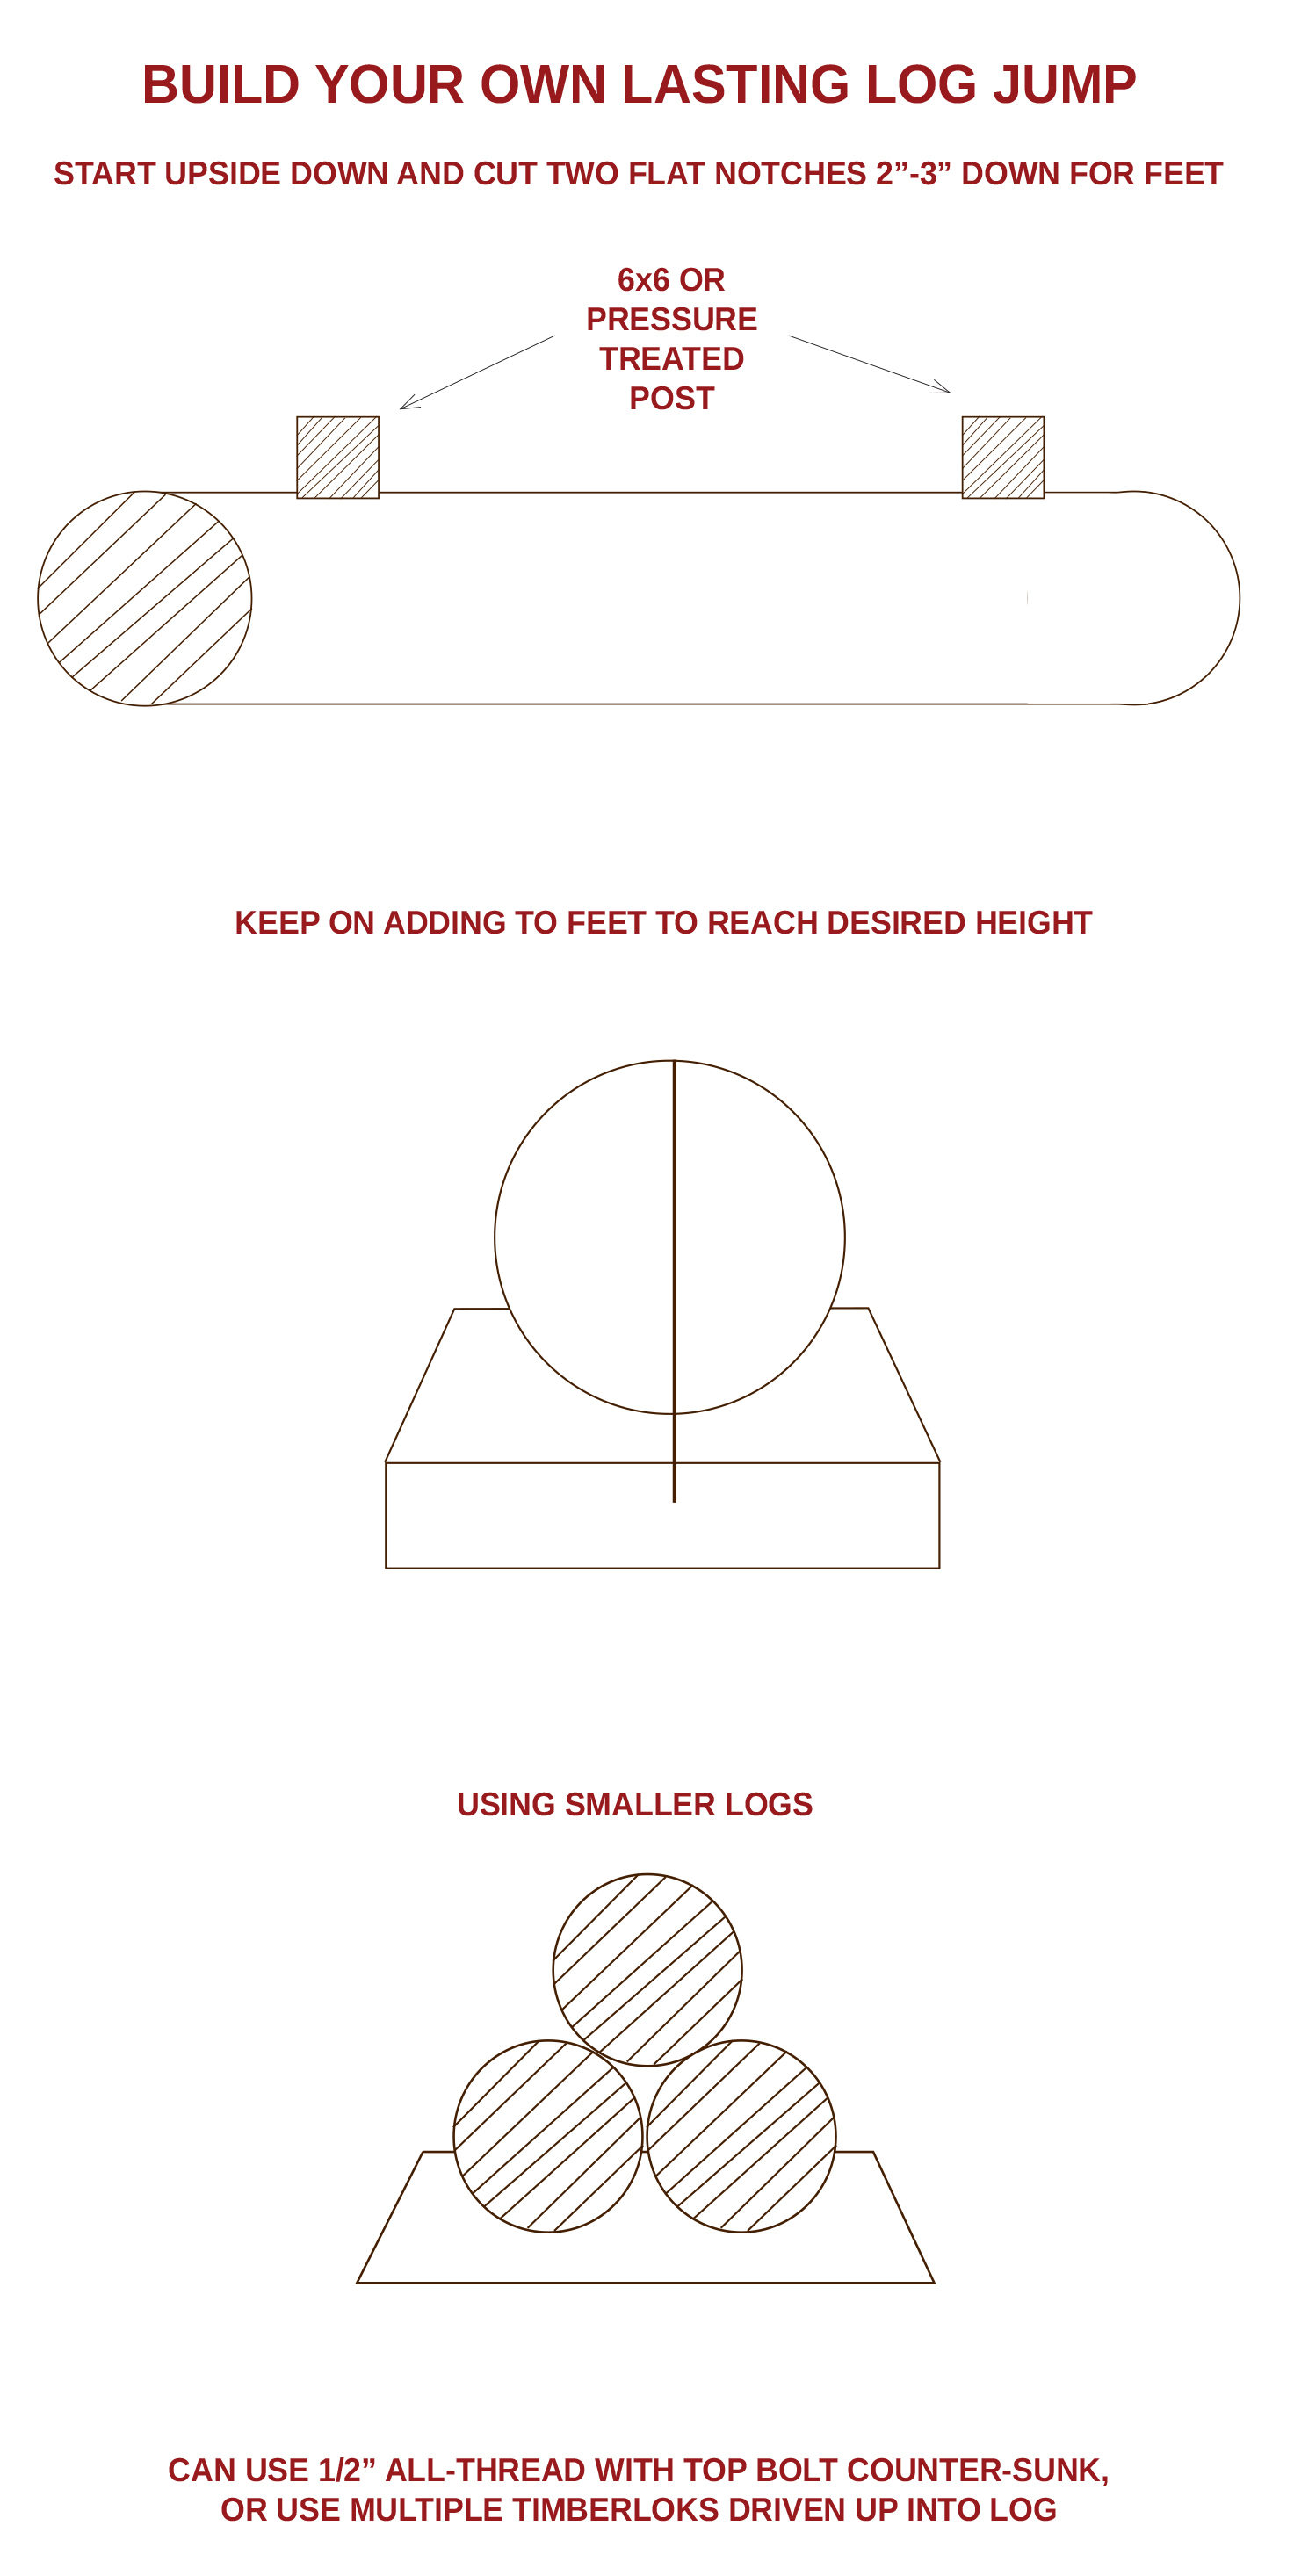
“There are places to save money and there are places to spend money,” Cooper said. “You can do quite a bit of lower level stuff with a bunch of logs and you can sometimes get tree services to give them away for free. Getting them off the ground on pressure-treated feet so that they don’t sit on the ground and rot is a quick and easy way to make them last twice as long.”
The type of wood you select can make a difference in the longevity of your jumps, even if you’re just building from logs. “If you get a pile of old pine logs, they could rot in a year or two whereas if you found something like locust that lasts longer, you’re going to be ahead of the game,” Cooper said. “I hate replacing things when they rot, so I’ll pay a little more up front to have something that will last. You can even put a preservative on it like a stain or an oil to make them last longer, but no log is going to last forever.”
“If you are going to stain you jumps, it’ll make a huge difference having the front leading edge be a slightly different contrasting color,” Cooper advised. “Marking the outside edges will also make it ride quite a bit better so the horse can judge the depth and width of what they have to jump. All portables, especially narrows, should have flags as we want to train our horses to see them and lock on to going between them.”

When building any type of cross-country jump, solid construction is important not just for the longevity of your jump, but also the safety of the horses. “A horse should be able to run into or step on any jump and it shouldn’t break,” Cooper stressed. “I would always overbuild things, especially the tops of tables or anything with a spread. Either use a full 2-inch thick oak or a pressure treated 1 ½-inch with adequate supports, so that you don’t have a board that a horse puts a foot through.”
Staking your fences to the ground is another way to ensure their safety – that way, they won’t shift or roll if they get bumped. “You didn’t used to see everything staked down,” Cooper observed. “At the end of the day it can be a bit of a pain but it’s a good insurance policy to stake them down – it’s not that hard to pull them out again when you want to move it.”
Depending on what kind of equipment you have at home, it can be a good idea to build your jumps on skids so they can be moved around more easily. “Having things that you can move around versus permanent fences is a huge benefit for a schooling area,” Cooper shared. “If you build your jumps on skids and you have a pickup truck instead of a big tractor, you can still put a chain around it and pull it to change the question.”

“Keeping the footing as good as you can is key,” Cooper said. “You can’t just throw some jumps down and forget about it. Think of all the work you do on your dressage ring or your show jumping ring – the cross-country is no different. If you stay on top of it, it’s fairly straightforward to keep it going, but if you let it go then you’re talking about a lot of time and money to get it acceptable.”
Part of the reason good footing is so important is because it can help give a horse confidence over the fences they are jumping. “For any horse, if you give them good places to gallop and they feel comfortable and confident in what’s under their feet, they’ll go better than if everything is all rough and they’re tripping over stones. If the footing isn’t great, they probably won’t go as well or stay sound for as long.”
“There’s 50 ways to do something right and there’s 50 ways to do something wrong,” Cooper said. “If you talk to five different course builders, they could build equally good jumps if you asked them to build the same kind of jump, but they might go about it differently. If someone’s looking to build some jumps and they’re fairly handy and want to do a lot themselves, I still recommend that they have a professional builder provide their advice. There’s always new and more clever ways to build the same mousetrap.”
“I see people who are quite handy and clever, but they still make mistakes that we’ve learned from, so having someone come in and being able to look over their shoulder or look at stuff a professional has done, I think that’s the best way to learn stuff. I think people are pretty open to sharing ideas.”
A resource readily available for the amateur jump builder Is the USEF Rules for Eventing, which include specifications for each level, and, almost more importantly, the USEA Cross-Country Course Design Guidelines, which provide tips and tricks for a long list of different types of jumps in addition to general guidelines and best practices, and the USEA Cross-Country Schooling Course Guidelines, which offers advice for creating a safe cross-country schooling course.
From the USEA Cross-Country Course Design Guidelines
From the USEA Cross-Country Schooling Course Guidelines
Did you enjoy this article? Want to receive Eventing USA straight to your mailbox? Members receive Eventing USA as part of their USEA Membership or you can purchase individual issues from the USEA Shop.