Renew Your USEA Membership for the 2023 Season Today LEARN MORE

Tips and Tricks of the Trade is an article series that gives you the industry secrets from the best grooms in the country, and it is brought to you by Athletux. This month Kerri Short, groom for Bobby and Danica Meyerhoff, talks us through mastering a tail braid.
While the pulled or clipped tail is more popular in eventing, the braided tail is gaining popularity. A braided tail shows is a great option for showing off your horse's hindquarters, and gives a very polished look in the show ring. For those who prefer a natural tail, braiding may be a good option for you in competition. First things first - leave that tail alone! You'll need a full unclipped and unpulled tail. If your horse has previously had a trimmed tail, you need to be patient if you want to start braiding. A good 6-8 months or more is needed for the hair to grow out enough to French braid.
Before you start, make sure your horse is comfortable with you being around their tail and hind end. It can be a strange feeling for them the first few times that you try to braid, so practice at home plenty of times before any shoes. Have patience and be safe!
Here's what you need:
- QuickBraid
- Tail Wrap (I find an Ace bandage can work well for this)
- Comb
- A few braiding elastics
- A long piece of braiding thread (Bailer twine will work in a pinch if you need)
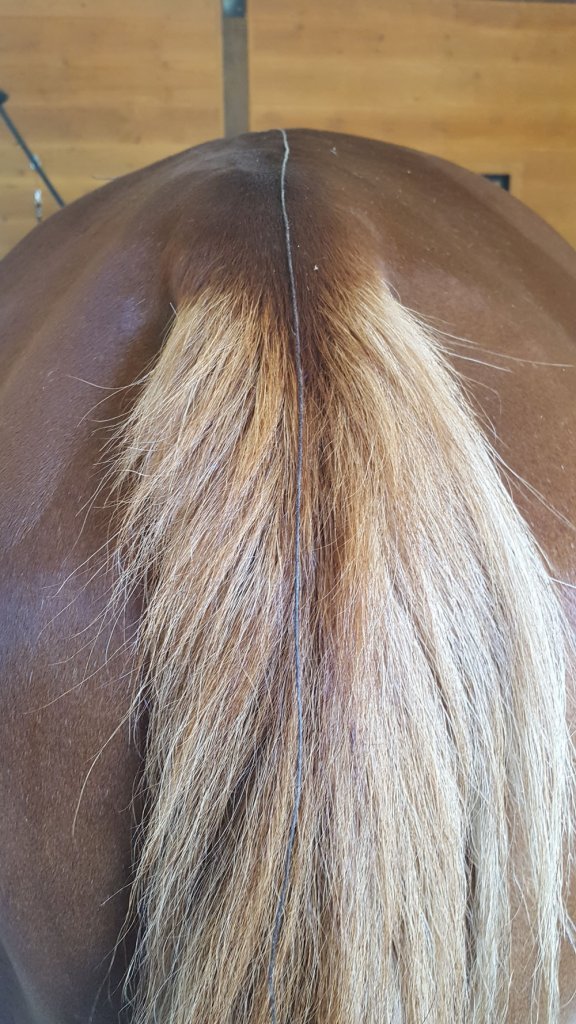
Start with a washed & dry tail (Clean hair, clean braid!). Brush out the tail well, trying to not get detangler on the top part of tail. Lay your thread over the top of hindquarters & tail, leaving enough length that it hangs below the tail bone by 6-12 inches.

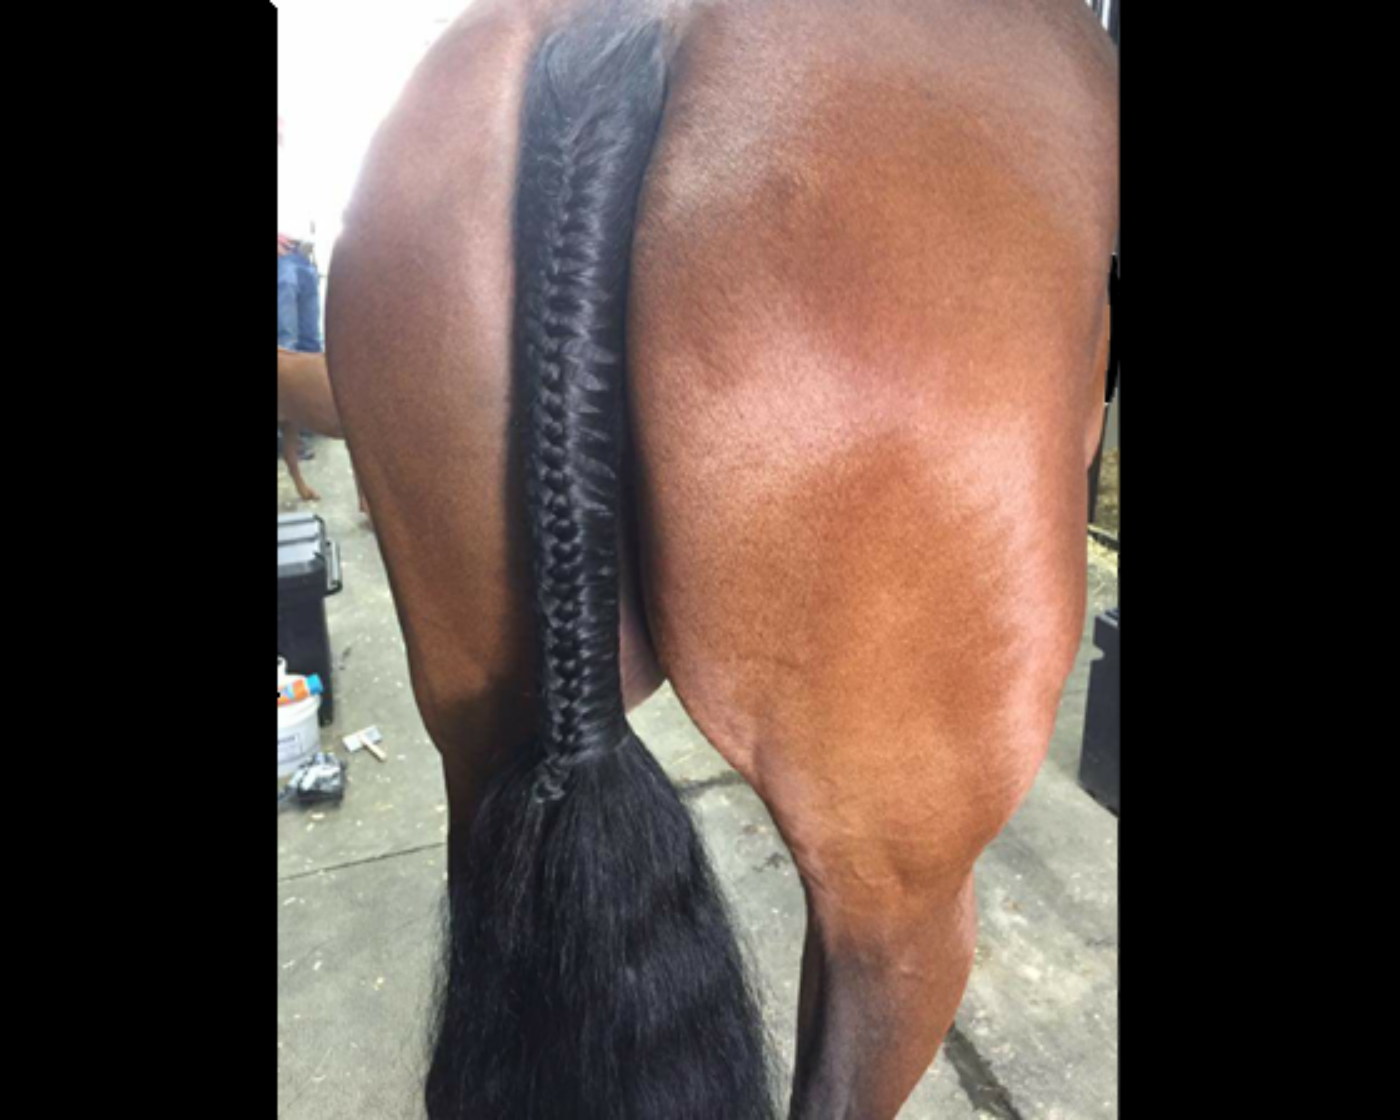
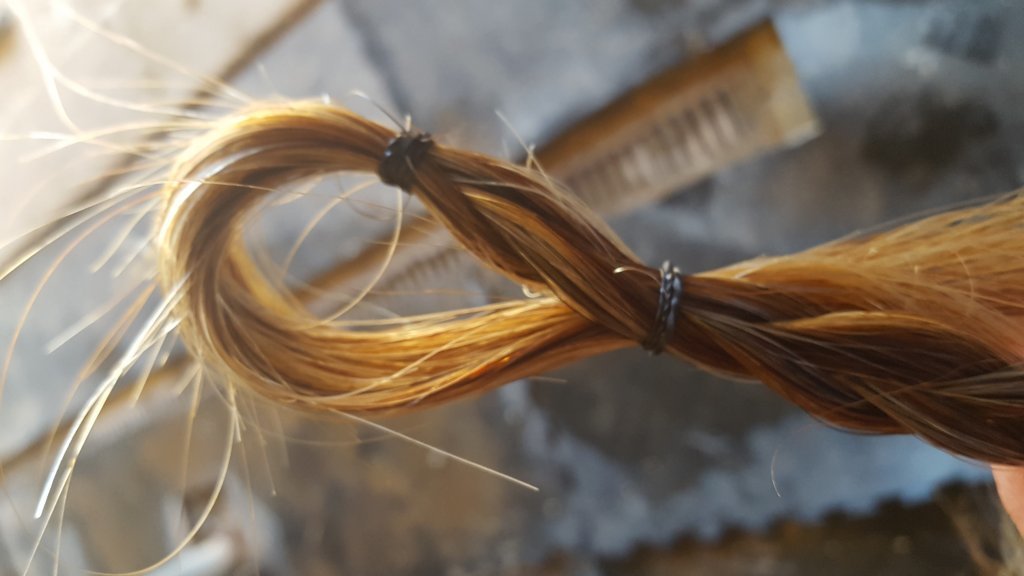
Generously spray the sides of the tail with quic braid. Starting at the top star a French braid using small pieces of hair from each side of tail. Make sure you braid OVER your thread, don't include it in the braid. Continue the French braid using small pieces as you braid down the tail. The smaller your pieces the smaller & neater the braid stays. Apply more quic braid as needed. When you near the end of the tail bone stop French braiding and simply continue in a regular braid with the pieces you have. Secure near the end with a braiding elastic, and take the excess tail and make a loop with the end. Secure this with another elastic.

Loop the excess and secure with an elastic.
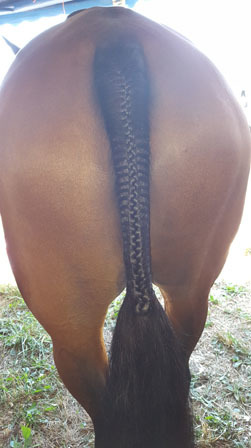
To finish the braid, you'll use that thread you've been braiding over. Tie the thread to your loop & gently pull the long braid up underneath the French braid from the top. I like this method as I find it leaves a neat tidy finish. Carefully snip the thread off at the top, give the braided part a good spray with your quic braid & apply the tail wrap to protect the braid until you (or your rider) are ready to go. When you are ready to show, unwrap the tail carefully, don't just pull the wrap of like you might with a pulled tail!

Don't forget, practice makes perfect!
To learn more about the Meyerhoff Show Horses program, you can visit their website www.meyerhoffshowhorses.com. All Photos were courtesy of Kerri Short.